
Quick Start
This guide is for first-time users of Clash-compatible clients. The screenshots use Clash Verge Rev as an example. Button names may differ in other clients, but the overall sequence is similar.
Before you begin
- A Windows, macOS, Linux, Android, or iOS device.
- An installer that matches both your operating system and CPU architecture.
- A subscription URL from your service provider, or a valid YAML configuration file.
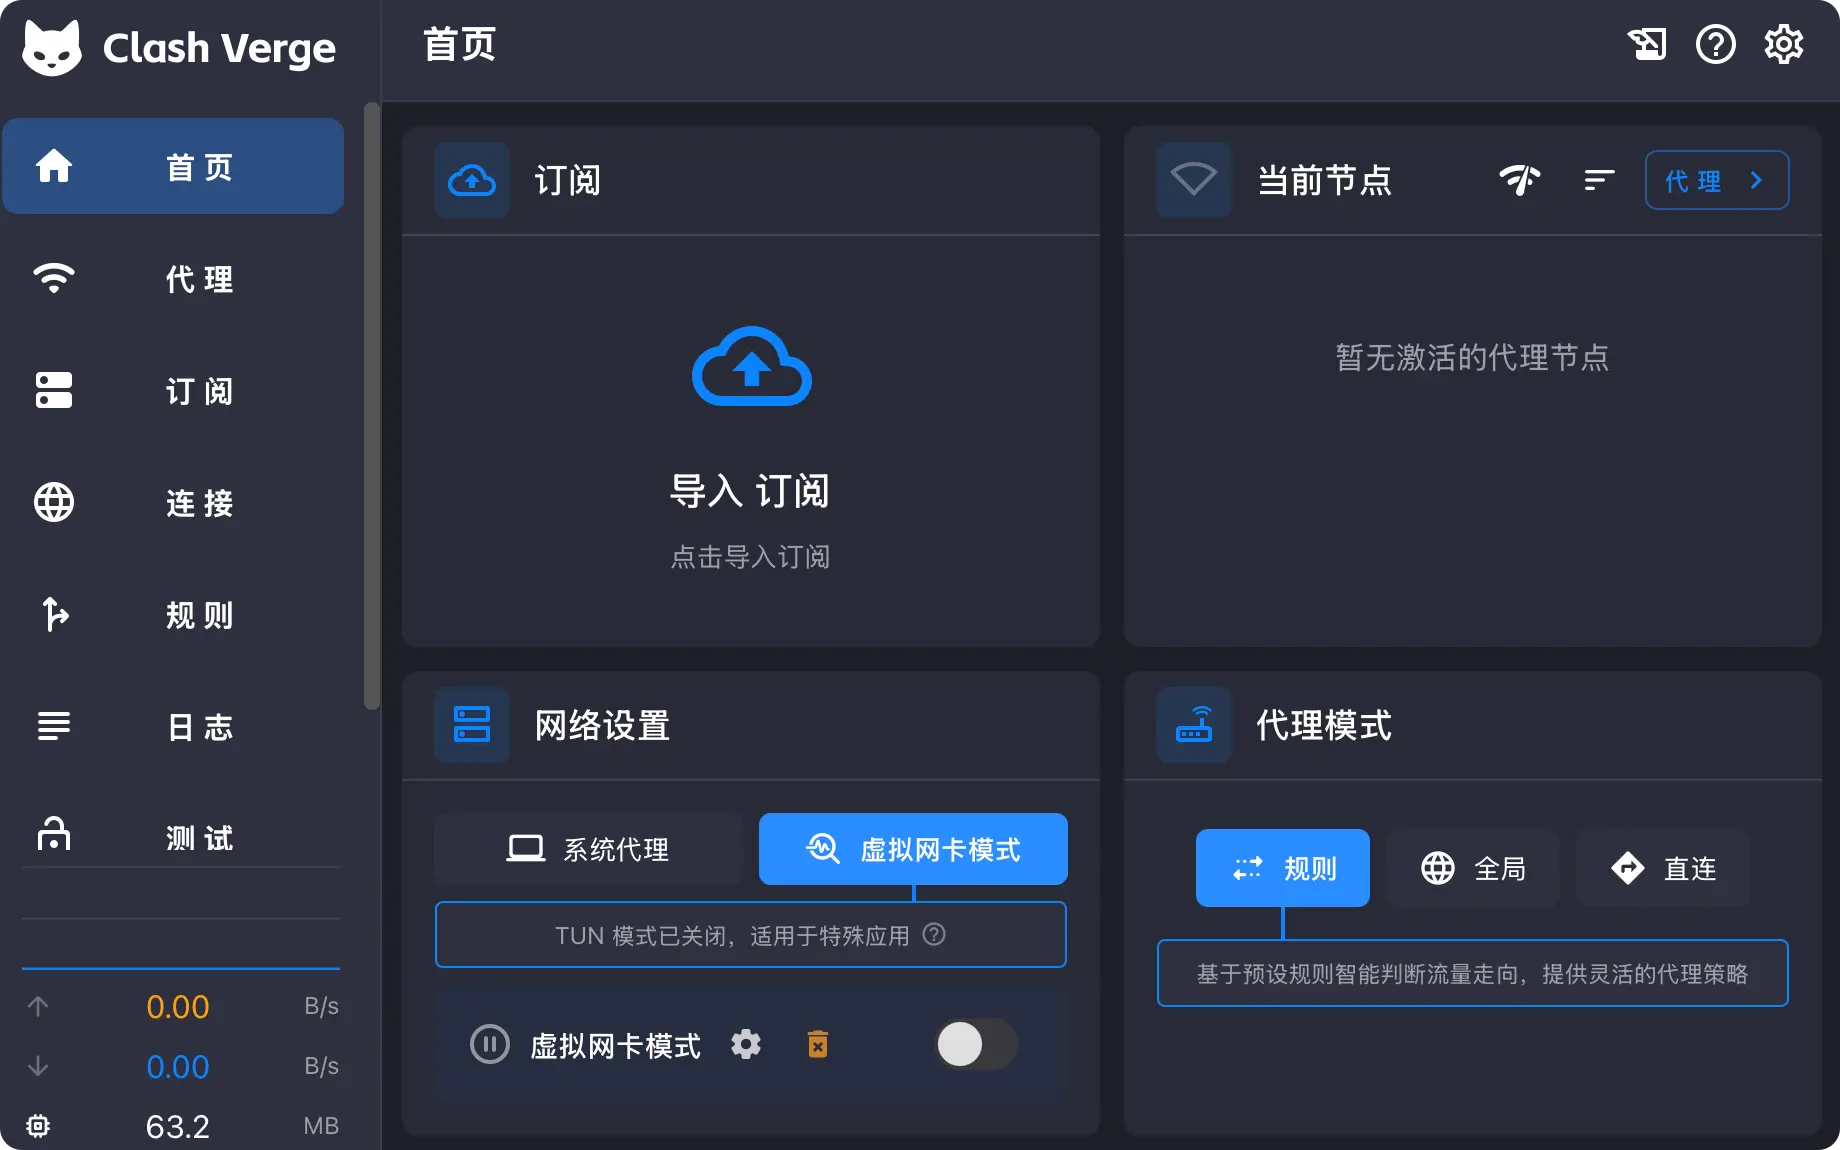
Complete setup flow
Choose and download a client
Open the page for your current device:
If you are unsure, start with the client marked Recommended on that platform page.
Install the client
Desktop systems commonly use EXE, DMG, DEB, RPM, or AppImage packages. Android uses APK files, while iPhone and iPad apps are installed through the App Store.
The platform pages explain processor architectures and installer formats. Verify the source and architecture again before installing.
Import a configuration
Copy the subscription URL supplied by your provider. Paste it into the client's Profiles, Subscriptions, or configuration page and download the configuration.
View the configuration import steps →
Select a node
Open the Proxies page. First-time users can select an automatic group or test latency and choose a node manually.
Enable the system proxy
Return to the dashboard, enable System Proxy, keep the client in Rule mode, and test the connection in a new browser tab.
What success looks like
- The subscription configuration is downloaded and shows a recent update time.
- The Proxies page contains nodes or policy groups.
- At least one node passes a latency test.
- System Proxy is enabled.
- Your browser can reach the intended website.